Tuesday, February 11, 2020

Newport Vessels Battery Box

    I decided to put the battery in a battery box to tidy up things. I went with Newport Vessels since they had good ratings and it also had 12v as well as USB ports for charging or running accessories.

    I can plug my battery tender right into the 12v outlet to charge and maintain the battery.


     I am not likely to use the battery for charging phones much since I have an outlet on the console. I figured it would be good for other people to use or if I want to use it camping near my tent.

   
    I had an extra wireless charging unit I purchased for my RAM and did not like the way it fit. I cut it down to a smaller size and glued it under the lid so the box was wireless capable. I was even able to use the existing light that came with the unit.


    This rubber piece came with my RAM Mount phone holder so I glued it here for grip. At first, I tried Loctite super glue but that did not stick so I am trying a trim adhesive. If that doesn't work I have another type of trim glue I will try. After that, I guess I will have to leave it off or try a 2 part epoxy.


    Initially, I spliced into the USB wires. My thought was since a button had to be pushed to activate that port, I could do the same for the wireless unit and not have it on all the time. FOr whatever reason, the USB would not go back into sleep mode once you activated it. it would also only charge the phone for a few seconds then stop. I decided to tap directly into the incoming 12-volt source. this worked great as far as charging but it stayed on all the time. I decided to put it on a switch. I can now turn it on when needed and off when it is not in use.

LINK to Switch


    I also put looms on the wires and added a RAM phone holder.


    If you get one of these holders for an iPhone XS Max or 11, you will want to get the larger size. My XS Max just barely fit in the regular size. I purchased the larger size for a better fit.


    Then I moved the cup holder up in front of the console and got another one for the other side. I screwed them both down to hold the front seat from being able to slide out, This will also deter someone from stealing the holders.


   Last but not least, I used JB Weld Marine compound to secure a rod holder in each of the oarlock locations. I scuffed up the inside and cleaned everything well with rubbing alcohol for prep. We will see if it holds up. If they break loose I will have to come up with something else.


    I think this will be about it for now. I think it will make a great little fishing boat for Bear Island!


Friday, January 17, 2020

Wiring the Whaler

    The little Whaler is awesome in its simplest form but I needed some updates to make it suite my needs. One of the main things was the anchor light. I had purchased a battery-operated clamp-on style light to get me through my Bear Island trip in October. all-in-all it was way too short and I had to rig it to clamp it on. The previous owner gave me a standard anchor light with the boat so I purchased a receptacle to accept it and fabricated it onto the boat. I would have loved the original style light and may swap it out one day, but they are way more than I want to spend on a light right now.


    Of course, I had to get my Helix sorted out as well. I went ahead and put that on a switch as well. I bought a transom block and mounted that as well as a new transducer. (I am using the original transducer on my G3 with a splitter into the Helix 9). I took the boat out with my bubby (previous owner) and got ok readings but I feel they could be better. I think part of the problem is the transom is curved and that cocks the transducer a bit. I suspect it will only really affect readings while moving along.


    Of course, I needed a way to charge my phone and run 12-volt accessories so I installed a lighter plug. I may change this out later for a USB lighter combo.


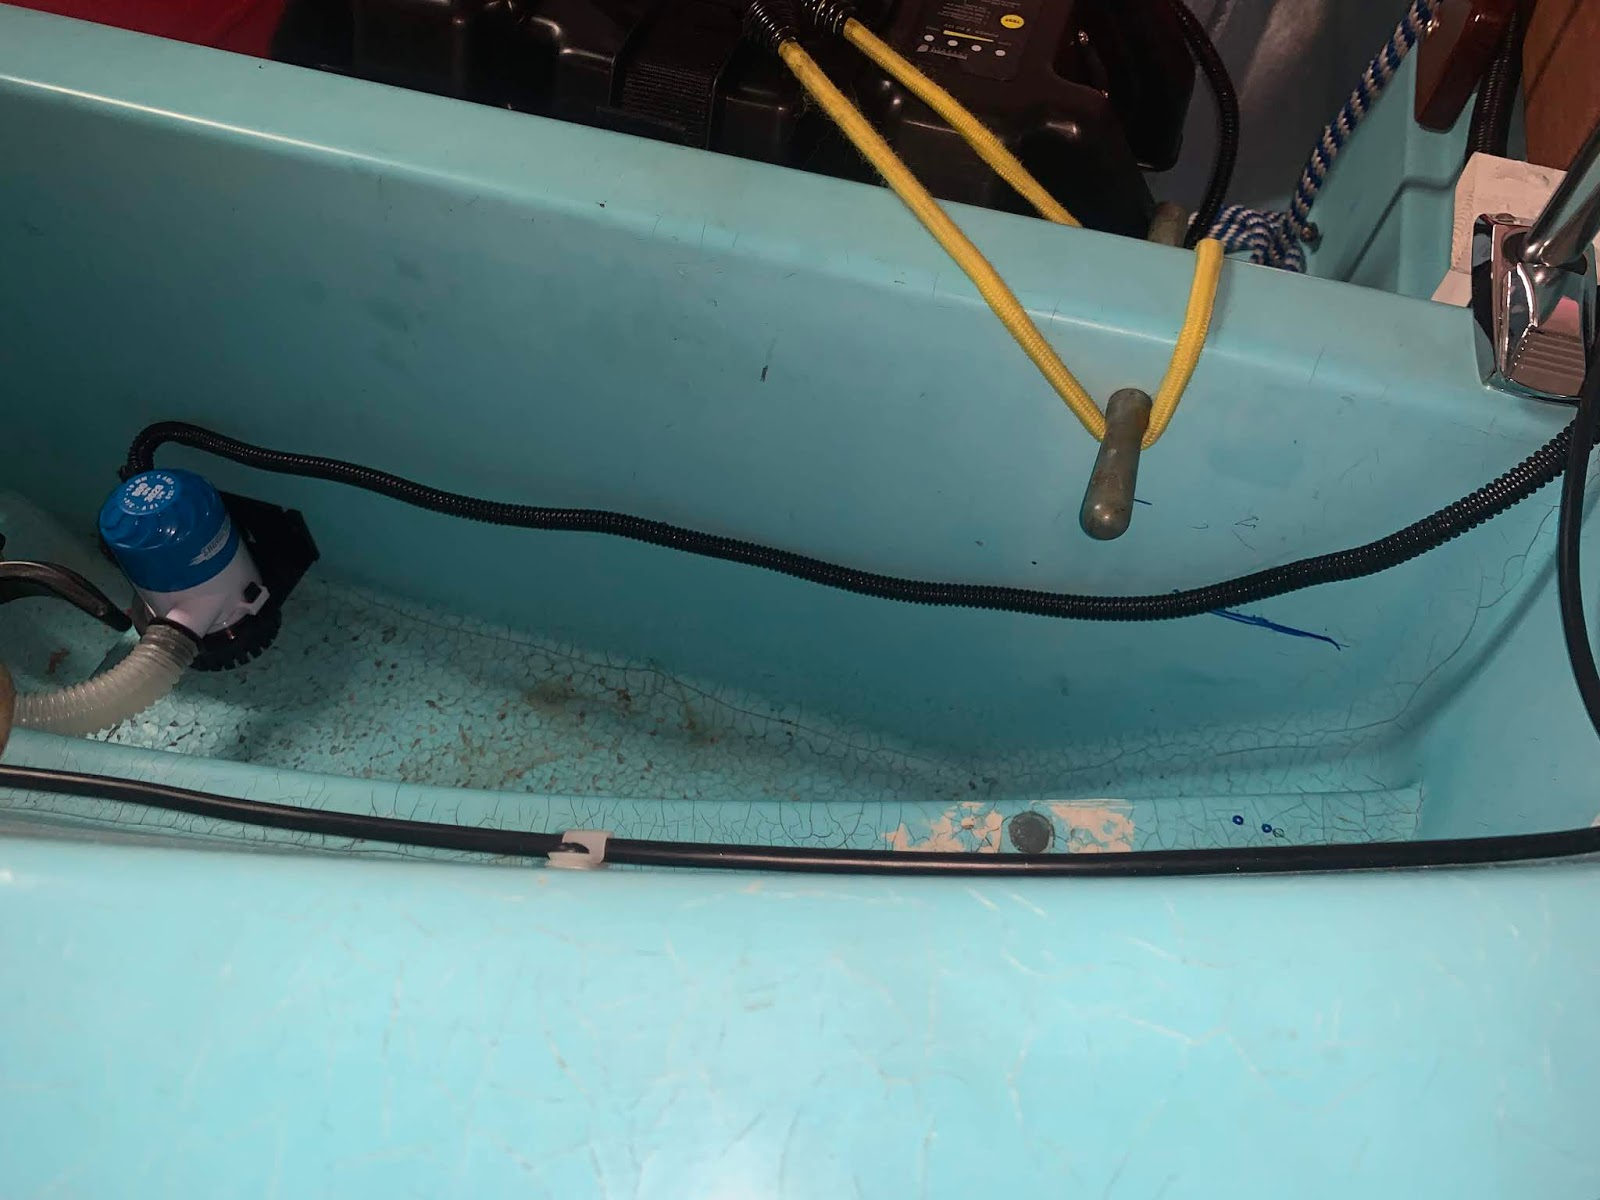
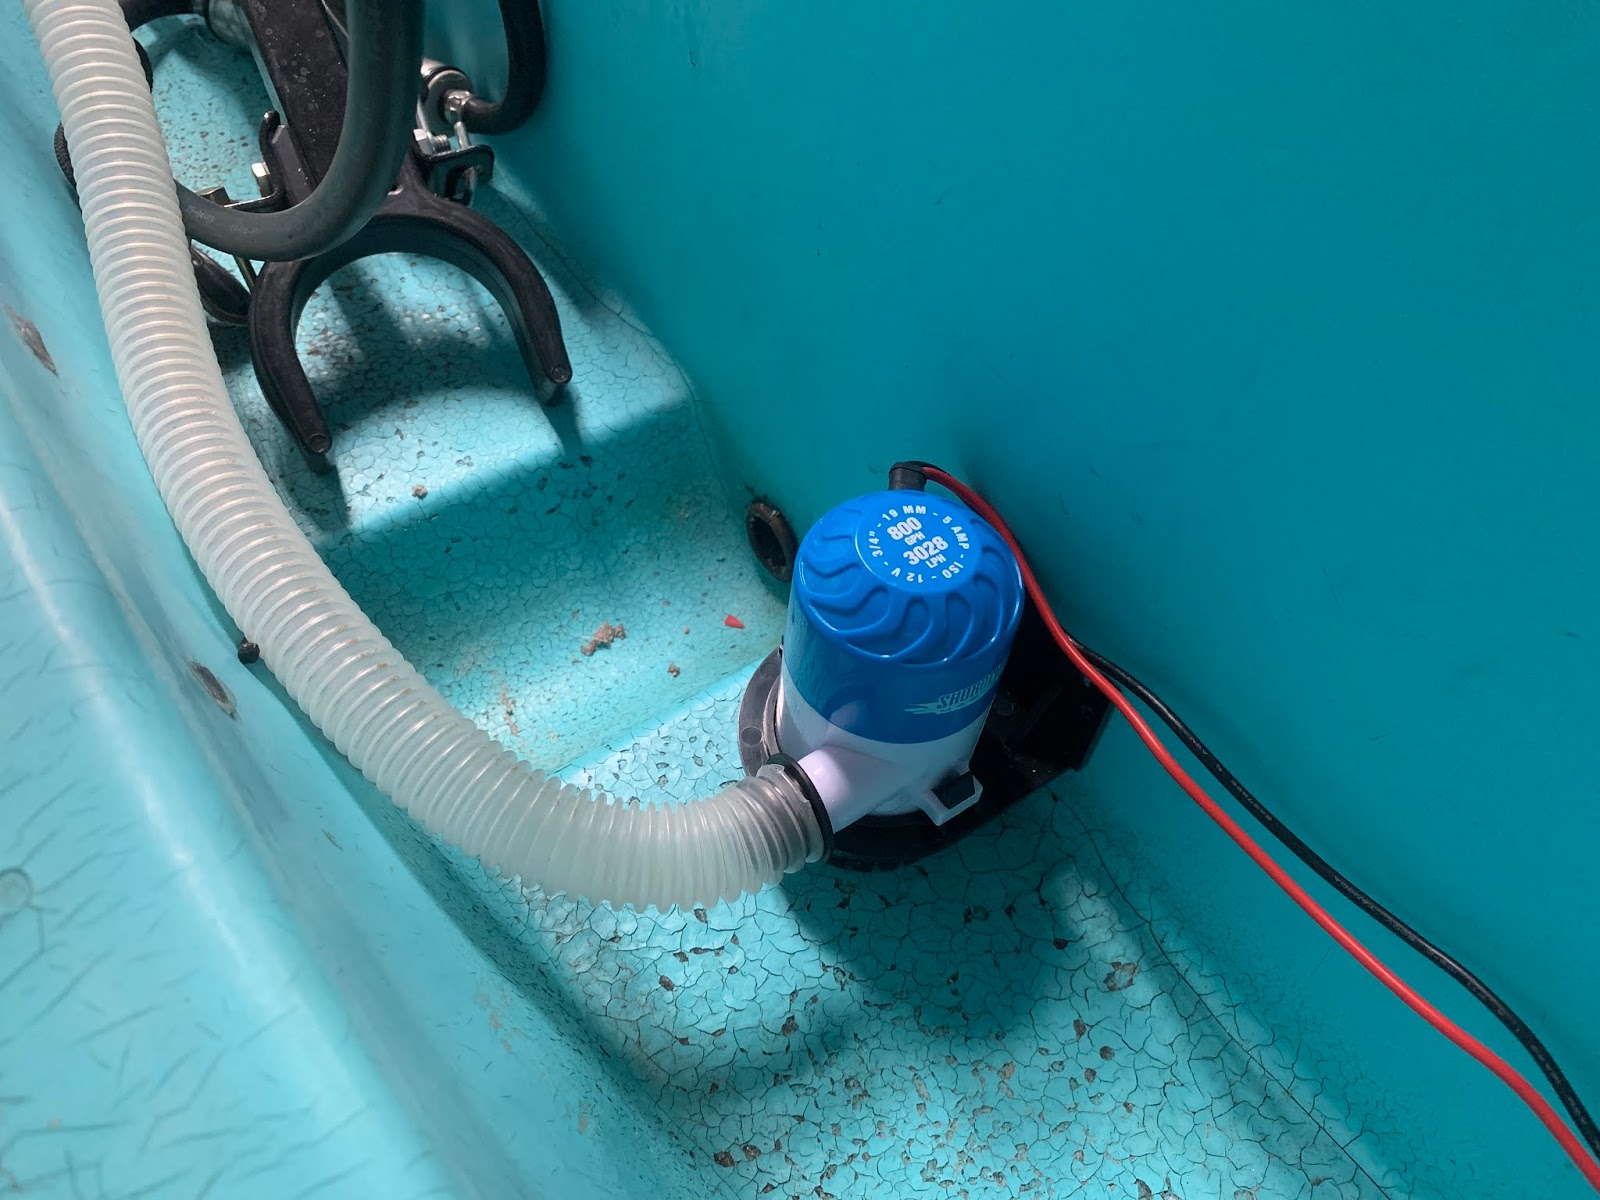
    On the trip in October, we got a bunch of rain overnight and I had to hand bail water from the boat so I installed a small bilge pump. I just ran flex hose to the back and zip tied that on. My goal has always been to have a few holes as possible.


    Lastly, I put in green LEDs for night fishing and white lights for seeing in the dark.


    All of this is tied into a 6 gang switch box and a ground lug. The only thing I do not really like is the red light that glows constantly while connected to the battery. I will either put a switch on the battery to turn off power to it or go in and disable the light.


    I put this over on my Facebook Group page but not here so I will include it now.....

   I added some rod holders and I also moved the fire extinguisher under the front hatch. I wanted the hatch to have more weight so I would have to worry less about it blowing off going down the road.


I went with two since three would have been tight.

I added the YETI opener as well.


    FYI, YETI clip-on accessories for the coolers fit the side clamps like a glove. You can hang the cup holders or the cooler rod holders right on. They fit nice and tight. You could screw them down if you were concerned with theft.


    I think the last thing I want to do is get a battery box for the battery and I will be done.... for now....